Mastering the art of guitar recording involves understanding a myriad of aspects, that, when well implemented, contribute to the golden sound we all aspire to achieve. Essentially, the environment in which you record significantly influences the overall sound output. It’s essential to delve into factors such as different surroundings and their effect on the guitar’s sound, room acoustics, insulation, ambiance, and various strategies for enhancing your recording space, including room design and soundproof materials. Furthermore, the choice of recording equipment and software such as microphones, audio interfaces, digital audio workstations (DAWs), and amps plays a critical role. This exploration will empower you with knowledge about their functionalities, setup, and their respective impact on the sound of your guitar recordings. Lastly, an intriguing segment constitutes the unmistakable techniques of microphone placement, directly linked to sound quality. By experimenting with various placements, you can find the sweet spot that best resonates with your recording style.
Understanding the Recording Environment
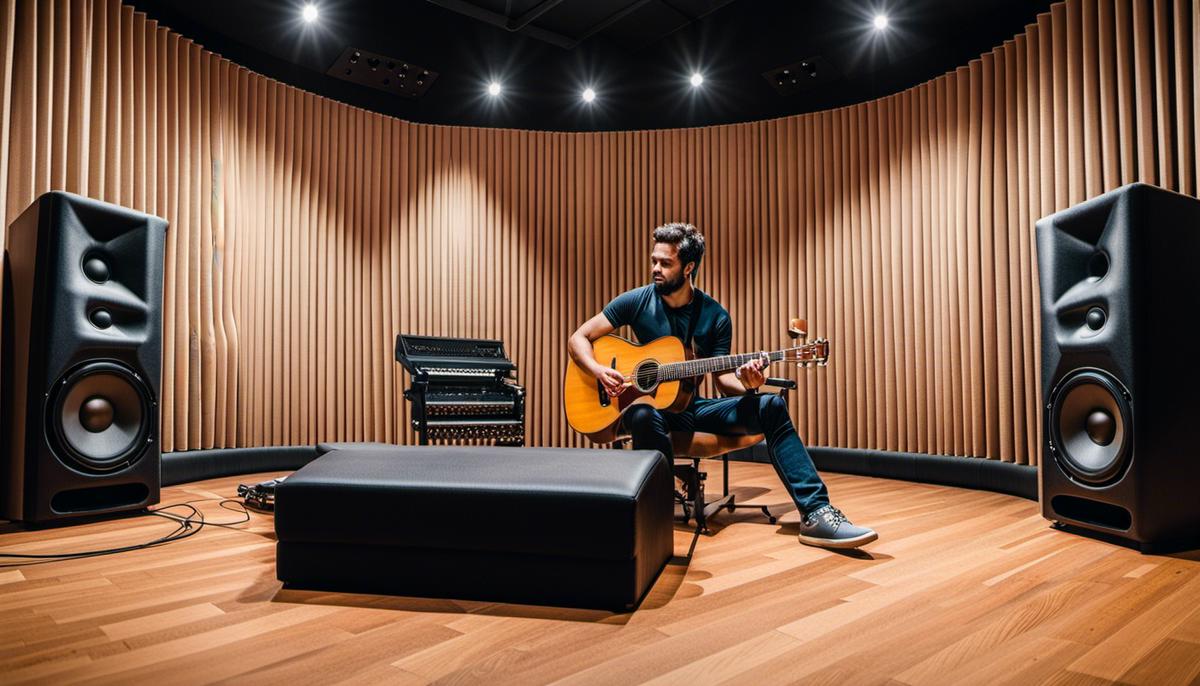
Understanding the Recording Environment: Its Importance and Impact on Guitar Sound
The recording environment plays a substantive role in determining the quality of your guitar recording. The surrounding area impacts how the sound is absorbed, reflected, and ultimately captured. For instance, a room with bare, hard surfaces like concrete or glass will reflect soundwaves and potentially cause unwanted echoes or reverb in your recording, while softer materials, such as carpet or curtains, can absorb sound and potentially dampen the tone.
The Role of Room Acoustics in Guitar Recording
Room acoustics significantly affect the result of a guitar recording. The dimensions and shape of the room influence the sound waves that escape your guitar and bounce around before being picked up by the microphone. An asymmetrical room with non-parallel walls is often more desirable to avoid standing waves – resonances that can impact certain frequencies and lead to an unequal response in the sound frequency. The shape and size of the room can also impact the natural reverb of the guitar.
Insulation’s Effect on Guitar Sound
Insulation plays a crucial role in controlling both the sound from escaping the room and outside noise from entering the recording space. It can consequently have a profound impact on your guitar’s recorded sound. Insulating materials work to minimize these undesirable noises, providing you a more controlled and isolated recording environment. This allows you to capture the guitar’s pure tone unmarred by external sounds.
Defining the Impact of Ambiance on Guitar Recording
Ambiance relates to the overall feel and mood of the recording space. While harder to quantify, ambiance can affect your comfort and subsequently your performance. A comfortable, relaxed and personalized space will likely promote better performances. Aside from the performance perspective, ambiance also refers to the sonic quality of a room, which can greatly impact the guitar’s recorded tone.
Strategies to Improve Your Recording Space
Consider using soundproof materials and think about the ideal design of your room. Soundproofing can be as simple as adding carpets or curtains, significantly reducing reflection and providing a tighter, controlled sound. Alternatively, it might involve installing specially designed acoustic panels or diffusers, which control and manipulate sound reflections.
When designing your space, consider your room’s shape. Avoid square rooms when possible, as they often result in an uneven frequency response due to standing waves resonating off equally spaced parallel walls. If possible, a larger room typically gives a more natural, open sound.
Overall, understanding and optimizing your recording environment is an important factor in achieving quality guitar recordings. The right mix of acoustics, insulation, and ambiance adaptation can significantly enhance the guitar’s sound and your recording outcomes.
Recording Equipment and Software
Investigating Recording Equipment
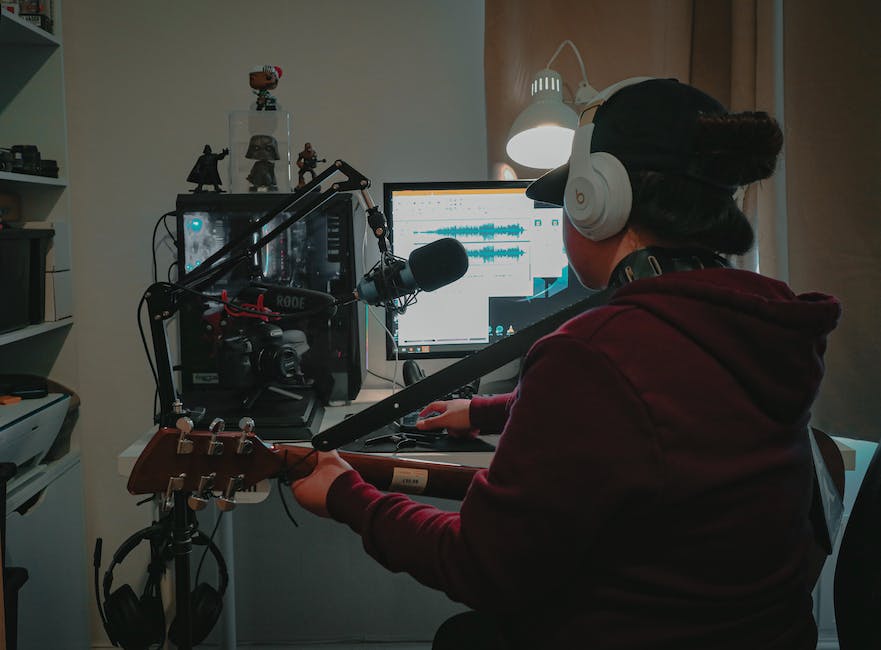
When recording a guitar, the first piece of equipment to consider is the microphone. There are three main types: dynamic, condenser, and ribbon. Dynamic microphones are sturdy and versatile, coping well with high pressure levels, and thus work well for loud amplifiers. Condenser microphones are more sensitive and accurate, perfect for quieter recording scenarios, and they require phantom power, supplied usually by the audio interface or an external power source. Ribbon microphones, while delicate, provide a rich, vintage sound.
The audio interface is the next piece of crucial recording equipment. Essentially, it provides the conversion between the guitar’s analog signal to a digital one that your computer can comprehend. Different interfaces come with varying features, like number of inputs, connectivity types (USB, FireWire, Thunderbolt), preamps, and phantom power for condenser mics.
Understanding The Digital Audio Workstations (DAWs)
Moving on to software, the digital audio workstation (DAW) is a must-have. A DAW is a software application which you can use to record, edit, and mix tracks. Some popular DAWs include Pro Tools, Logic Pro, GarageBand, Ableton Live, and FL Studio. Each has its own strengths and weaknesses; choosing one mostly depends on your workflow.
Various DAWs come with built-in software amps, or amp simulators, that can mimic the sound of different amplifier types. They may also come with other effects and editing options that can shape the sound of your guitar.
Setting up your chosen DAW is a potentially complex process as many factors can affect the recording. These factors include the quality of your input signal, your computer’s processing power and the specific settings you choose in your DAW. It may be necessary to consult the user manual or seek expert advice to achieve the best results.
Impact of Amps on Sound
Lastly, the amplifier (amp) significantly shapes the sound of your guitar before it reaches the microphone. Tube amps tend to offer warmth and a beautiful break up when driven hard. Solid-state amps are known for their reliability and consistency, while digital modeling amps offer a wealth of different sounds. Experimenting with different amp settings can truly create a unique tone for your guitar recording.
Note: if you are using a microphone to record the sound from your amp, the placement of the mic can also greatly affect the tonal quality of your recording. Placing it right up against the grille cloth will yield a more direct sound, while pulling back adds more room tone to the mix.

Techniques of Microphone Placement
Understanding Microphone Placement for Guitar Recordings
The positioning of your microphone can significantly impact the quality and tonality of your guitar recordings. Various placements offer different audio results, allowing you to find the best match for your musical style.
Dynamic vs. Condenser Microphones
There are two primary types of microphones used in recording guitars: dynamic microphones and condenser microphones. Dynamic microphones are often the more durable option and capture loud sounds well, making them ideal for recording amplified guitars. On the other hand, condenser microphones are more sensitive and better suited for picking up finer acoustic details, making them perfect for recording acoustic guitars.
Guitar Microphone Placement: Amped Guitars
With electric guitars, the microphone should be set up facing the amplifier. If you place the microphone directly in front of the speaker (dead center), you’ll capture a bright and clear tone. However, by moving the microphone towards the edge of the speaker, you’ll capture a more mellow, bass-heavy sound.
Close vs. Distant Miking
The proximity of the microphone to the guitar also affects the sound. Use close miking (1-12 inches) for a direct, crisp sound, as this method minimizes room noise. On the flip side, distant miking (more than 12 inches) brings in more room ambiance into the recording, giving the sound body and depth.
Two-Microphone Techniques
If you want to capture a richer variety of tones, try using two microphones. The X-Y technique, where two identical microphones are positioned at a 90-degree angle, creates a stereo image of the guitar sound. Another option is the A-B technique, where two similar microphones are placed a foot or more apart, pointing directly at the sound source.
Experimenting with Placement
There are no hard and fast rules for microphone placement when recording guitars. The technique varies depending on the type of guitar you’re using, the sound you want to achieve, and the acoustics of your recording space. Spend time experimenting with different microphone positions to find the sound that best fits your style and musical genre.
Remember, though, that the greatest guitar recordings start with a great performance, so focus on your playing first and foremost. The right microphone placement will help capture your guitar playing accurately and authentically.

Having explored the pivotal aspects of guitar recording, you now have a deeper understanding of the recording environment, its significant influence on sound, and various tips to improve your recording space. You’ve also discovered the importance of choosing the right equipment and software – each contributes uniquely to the final sound of your guitar recordings. Finally, in your journey towards more professional recordings, you’ve learned about the importance of microphone placement and how it can significantly impact the tonal quality of your guitar output. With these insights, moving forward, you can confidently experiment and find the best elements and arrangements that align with your style while continually improving your guitar recording skills.
Comments are closed.